Dhokla – A Super Healthy Snack For Your Gut
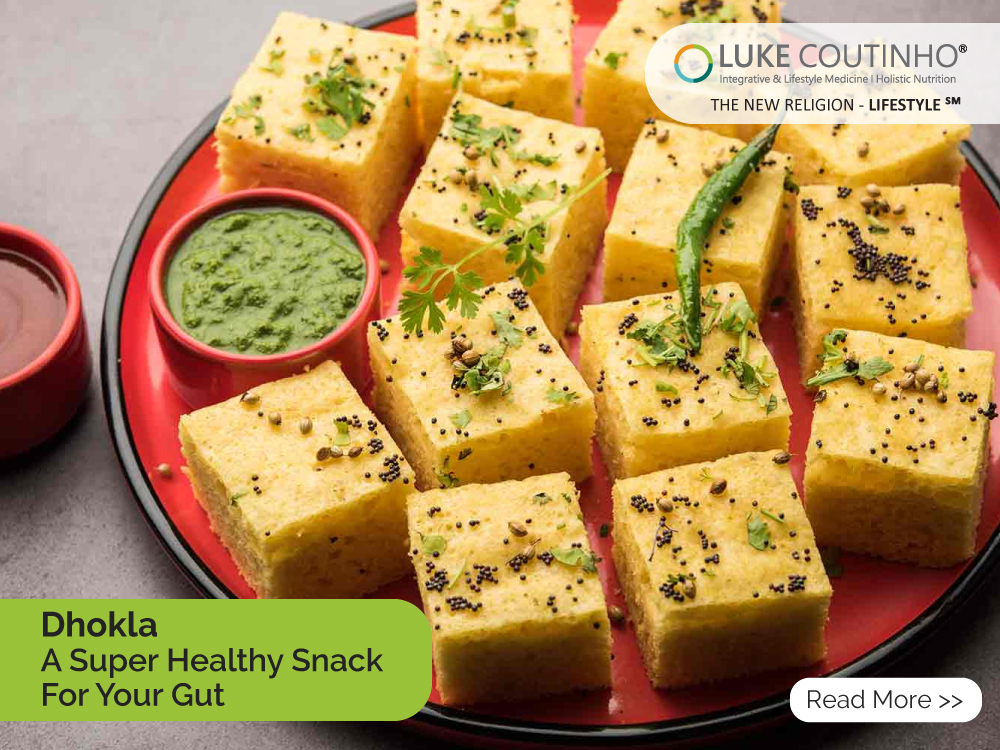
Yellow Moong Dal Dhokla - Savoury Sponge Cake
Enjoy the protein-rich guilt-free fluffy spongy cake for breakfast, lunch, or dinner. Reap its benefits by learning to cook it with the right ingredients to add to your gut flora.
Ingredients
- 1 cup yellow moong dal, soaked overnight (12-14 hours)
- 1 tbsp rice flour
- 1 tbsp ginger-green chili paste
- 1/4 tsp asafoetida, hing
- 2 tsp salt
- 1 tbsp lemon juice
- Cold-pressed peanut oil/coconut oil/organic ghee for greasing the dhokla plates
For tempering:
- A sprig of curry leaves, kadi patta
- 2-3 chilies
- 1 tsp mustard seeds
- 1 tsp sesame seeds
- 1/4 to 1/2 tsp red chili powder, optional
- 1 tbsp cold-pressed coconut oil
- A handful of chopped coriander leaves
Instructions
- Drain the water from the soaked moong dal. Transfer the soaked dal into a grinder jar. Add about 1/4 cup water and grind it to a smooth paste.
- In a large mixing bowl, add the moong dal paste and the other ingredients. Mix it well to form a batter. If it seems too thick, add water little by little until you get a pouring consistency.
- Add water to the dhokla steamer and put it on high heat. Grease the plates on which you will pour the batter.
- When steam starts forming in the steamer, lower the heat to medium. Pour the batter into the greased plates and place them inside the steamer. Cover and steam for 15-20 minutes. Adding lemon drops to the batter will allow natural fermentation and makes it soft and fluffy.
- When done, take off the lid. Take the plates out. Set aside to cool while you prepare the tempering.
- Heat the oil for tempering. Add the mustard seeds, sesame seeds, green chilies, and curry leaves. When it splutters, add the red chili powder. Take it off the gas and temper the dhokla.
- Garnish with chopped coriander leaves and grated fresh coconut.
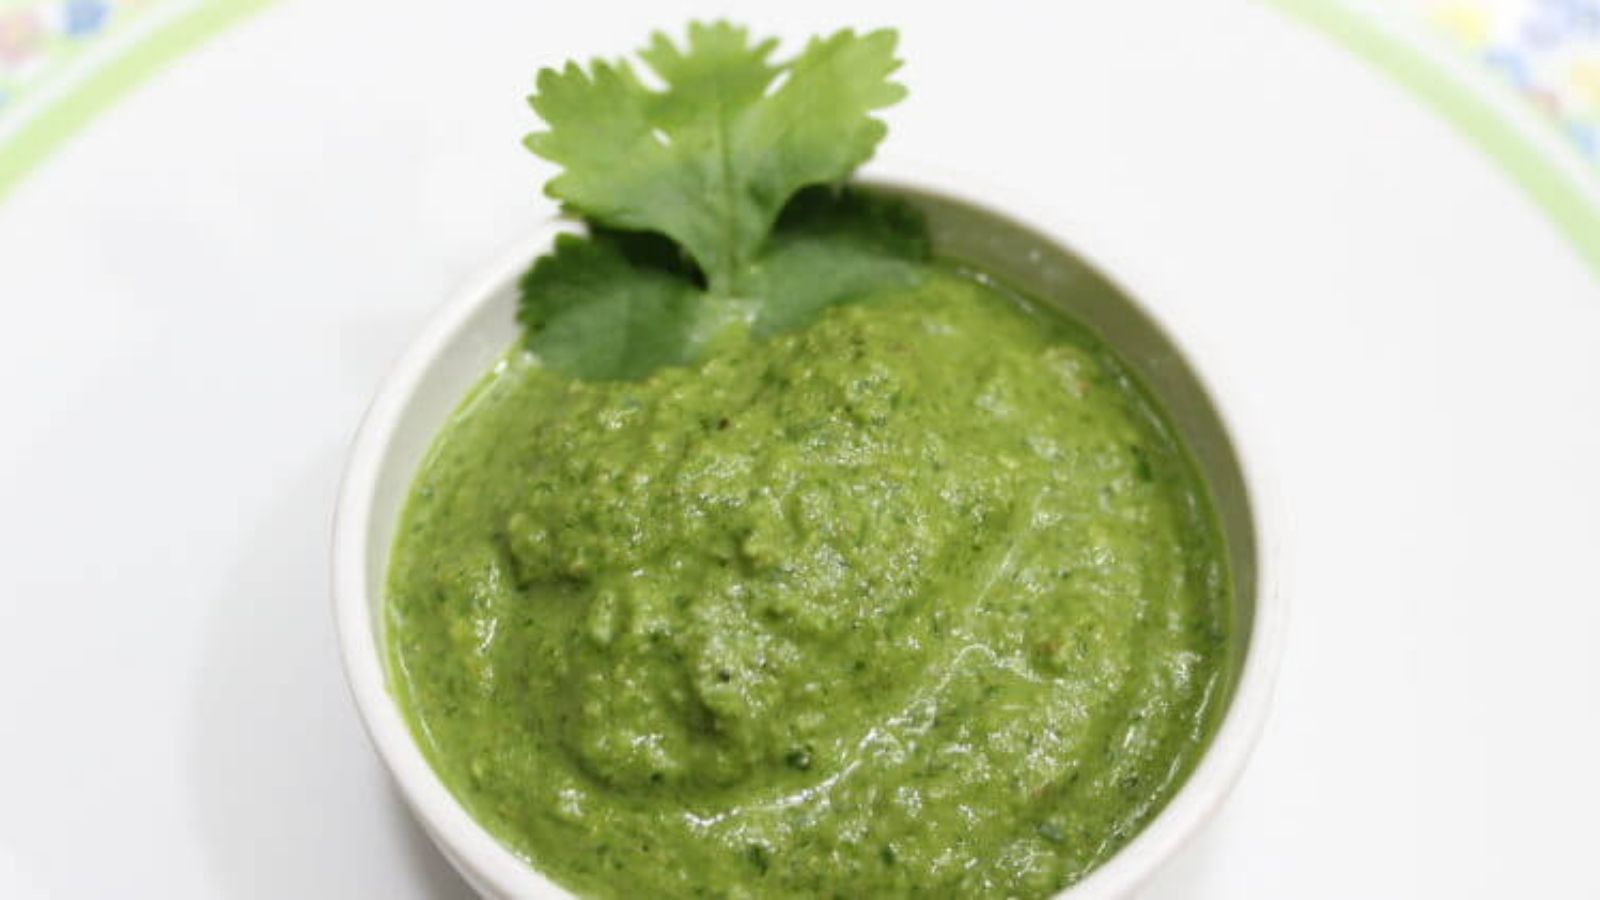
- Serve with green chutney. Enjoy.
Power tips and variations:
- You can use ragi flour as an alternative to rice flour.
- You can opt to use green gram dal/horse gram dal too, as per the availability.
- For effective fermentation, don't skip adding the lemon juice. Keep it in a warm place for 1 to 2 hours to allow natural fermentation.
Notes
- Yellow moong dal is a source of perfect plant protein. In combination with rice flour, it completes its amino acid profile and becomes a complete protein. Adding 1 tbsp rice flour to it also makes it easier to bind.
- Yellow dal is easily digestible and does not leave you feeling heavy or bloated as gram flour would.
- It makes a perfect evening snack as well as a kid-friendly tiffin item.
- Learn more about fermented food here.
Nutrition
Calories: 130kcalCarbohydrates: 15.6gProtein: 5.3gFat: 5g
Tried this recipe?Tag us on instagram with some pictures!
White Dhokla/Steamed Lentil Cakes
Never made a perfect dhokla and want to explore different variations to make this steamed delicacy? Your search ends here. Master the art of making yummy bites rich in protein, wealthy in antioxidants, filled with fiber content, and an abundant supply of probiotics, too.
Ingredients
- 3/4 cup parboiled rice
- ¼ urad dal, split and skinless black gram dal
- ¼ cup fresh fenugreek leaves, methi, washed and finely chopped
- ½ inch ginger, adrak
- 1 to 2 green chilies, as per choice
- 3 tbsp poha/beaten rice, soaked and finely crushed
- Salt as per taste
For the tempering:
- 2 tsp cold pressed coconut oil
- 1 tsp mustard, rai seeds
- ½ tsp sesame, til seeds
- 7-10 curry leaves, kadi patta
- A pinch of asafoetida, hing
Instructions
For the dhokla
- Soak the rice and dal for 6 to 8 hours in plain water.
- Drain the water and grind the rice and dal mixture.
- Add ginger, chilies, and soaked poha and blend the above until smooth batter-like consistency forms.
- Transfer the contents to a container, cover it with a lid and let it ferment for 3 to 4 hours in a warm place.
- Once done, add salt, and beat it well with the ladle.
- Now add the freshly chopped methi leaves.
- Take the dhokla steamer filled with sufficient water in it. Grease 2 plates with a few drops of coconut oil.
- Pour the batter into the plates and carefully place it into the steamer.
- Cover and let it steam for 10-12 minutes. Once done, remove it from the steamer and set it aside.
- Repeat the same with the second plate too.
For the tempering:
- Add some oil to the pan. Once hot, add 1 tsp mustard seeds.
- Once the seeds start spluttering, add 7 to 10 curry leaves, sesame seeds, and a pinch of asafoetida.
- Temper the dhokla evenly.
- Now, cut the dhokla into square-shaped pieces and serve hot with your choice of chutney or dip.
Power tips and variations:
- When fresh methi is not available, you can also opt to use spinach or coriander.
- We can use little millet or foxtail millet as a replacement for rice.
Notes
- This all-time favorite snack is a fermented food that increases the bioavailability of nutrients like folic acid, riboflavin, and Vitamin K.
- Freshly prepared dhokla are the best source of probiotics that help in improving our gut microbiome.
Nutrition
Calories: 172kcalCarbohydrates: 35gProtein: 4.2gFat: 3.2g
Tried this recipe?Tag us on instagram with some pictures!
|
From a pimple to cancer, our You Care Wellness Program helps you find a way Talk to our integrative team of experts today 18001020253 |

Comments (2)
Certainly will try both.looking on from Trinidad. .Thank you.
I’m a sucker for anything healthy, and this one sounds really good.
Will surely try it.