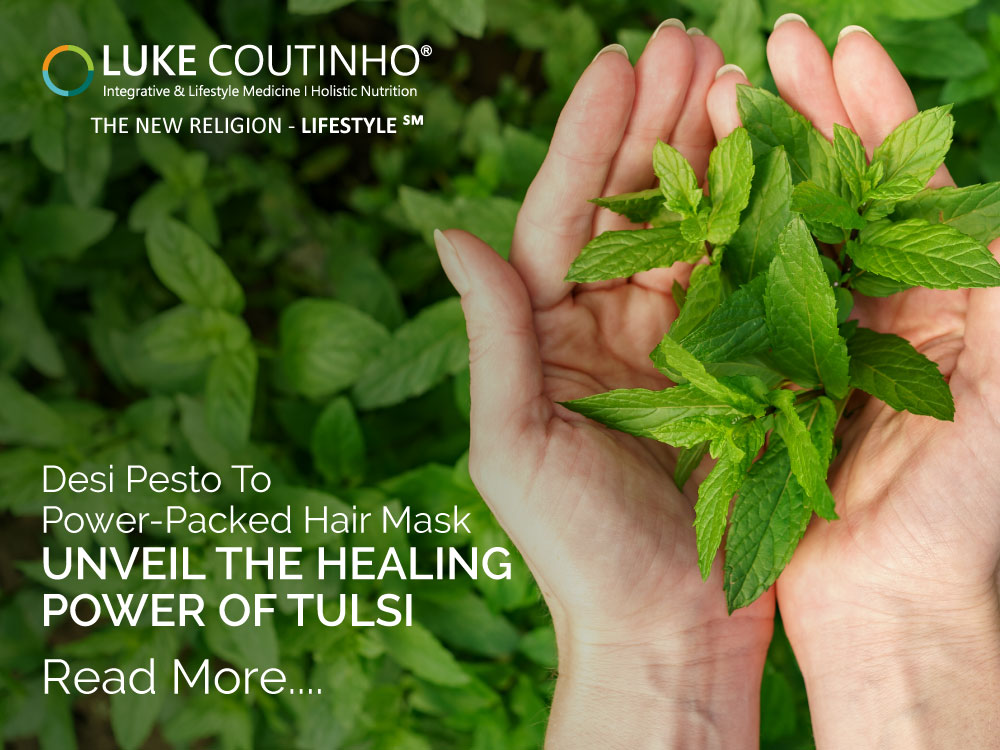
Desi Pesto To Power-Packed Hair Mask – Unveil the Healing Power of Tulsi
Tulsi Power-Packed Pesto - DIY Desi Dip
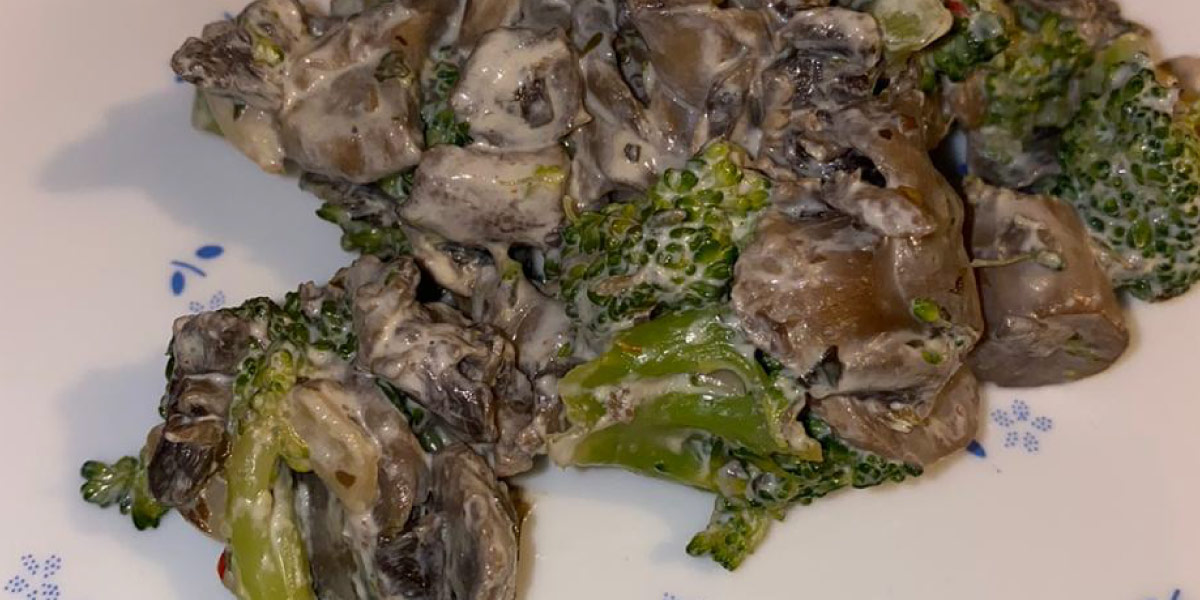
Want to learn a quick dip that is clean and free from sugar-loaded additives and preservatives? Venture into your garden, pluck the magical herb Tulsi, and add a chock full of simple ingredients and flavors to make this nutrient-dense chlorophyll-packed dip. Serve it with pasta, zoodles, and salads. This green-hued sauce is a treat visually and gastronomically too.
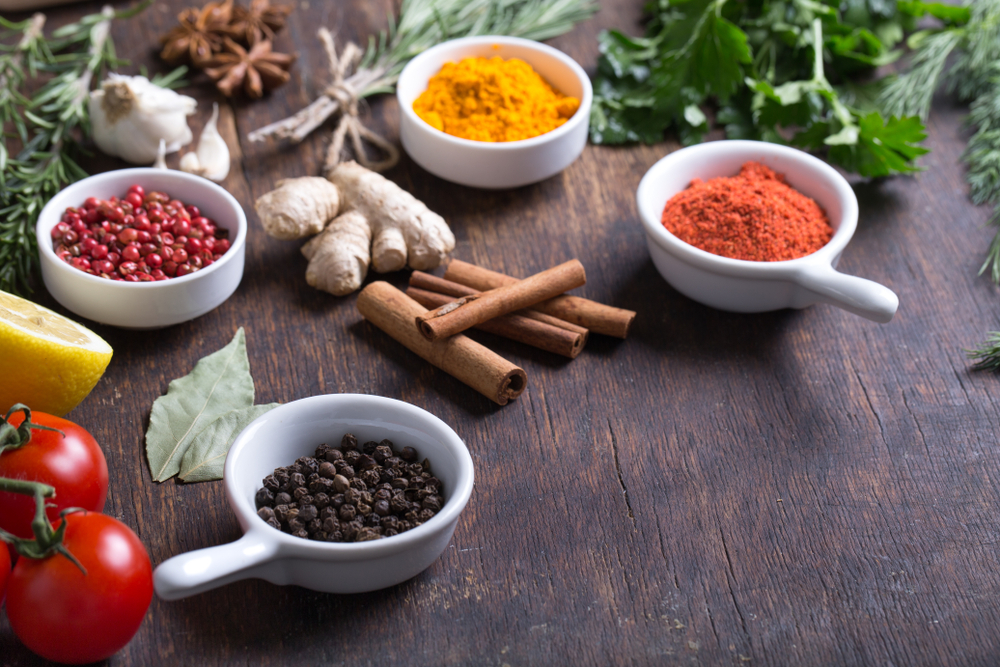
Ingredients
- 2 cups chopped tulsi, de-stemmed
- 1 cup fresh Italian basil
- 1 cup coriander
- 1 cup blanched spinach
- 8 garlic cloves
- 3 tbsp mix of roasted sesame seeds
- 3 tbsp pumpkin seeds
- 3/4 cup olive oil
- 1/2 cup lemon juice
- Salt and pepper to taste
Instructions
- Combine all ingredients in a blender/mixer and pulse.
- Add olive oil till you get the smooth desired consistency.
- Store in glass jars in the refrigerator.
- This pesto stays fresh for 2 weeks.
Power tip
- Always run the blender /mixer in the pulse mode and don't run it continuously after adding olive oil. In some cases due to excessive running, the fatty acids in the olive oil tend to break making it bitter.
Variations
- If you don't have tulsi you can use a mix of mint and coriander leaves too.
- You can use pine nuts and almonds if these suit you.
Notes
- Apart from various medicinal properties, tulsi is a culinary herb used to preserve the properties of the food and help maintain the acid balance within the body.
- The powerful oils eugenol and citronellol help lower inflammation.
- The antioxidants orientin and vicenin protect DNA and boost your immune system.
- Learn more about the benefits of the magical herb Tulsi here.
Nutrition
Calories: 187kcalCarbohydrates: 4.8gProtein: 3.4gTrans Fat: 12.84g
Tried this recipe?Tag us on instagram with some pictures!
Tulsi Hair Mask – DIY Desi Nuske
Tulsi is often considered the incomparable herb that not only adds aroma to tea and curries but provides a multitude of beauty benefits for skin and hair health too. Packed with antioxidants and phytonutrients, use it to add natural luster to your mane. Try this simple DIY hair mask which can rejuvenate your hair follicles, relieve an itchy scalp and slow down premature greying. Always conduct a patch test first to rule out any allergies.
Ingredients
- 1 cup fresh tulsi leaves
- 2 tbsp amla powder
- 2 tbsp coconut oil
Instructions
- Place the ingredients inside the blender.
- Add a few drops of water and blend until you obtain a paste-like consistency.
- Mix the paste well. Now add coconut oil.
- Apply it evenly over your scalp and let it sit for 30 minutes.
- Wash it using mild shampoo.
- Change the quantity as per the length of the hair.
- Use it every week for better results.
Power Tip
- You can alternatively use a few drops of tulsi oil with a few drops of coconut oil and massage gently to the scalp.
Variations
- If coconut oil is unavailable, you can use sesame oil too.
Notes
- Tulsi possesses antibacterial and antimicrobial properties and helps maintain moisture in your scalp, improving blood circulation, and making the roots strong and healthy.
- Amla possesses anti-inflammatory properties and is rich in antioxidants which help control premature greying problems.
- Coconut oil is hydrating and helps moisturize, thereby maintaining a healthy scalp microbiome.
Tried this recipe?Tag us on instagram with some pictures!
|
From a pimple to cancer, our You Care Wellness Program helps you find a way Talk to our integrative team of experts today 18001020253 |


Leave a Reply